
Pet CPR is an important skill for dog and cat owners to have. This guide breaks it down into steps, so you can act quickly if an emergency strikes.
Less than 10 percent of pet owners have taken a Pet First Aid course, and less than a third even own a pet First Aid Kit, according to a recent survey conducted by PetFirst Pet Insurance. But emergencies like natural disasters and car accidents affect pets, too, so pet owners should be prepared to act quickly when their animal is injured. Learning pet CPR is a key part of that.
How to perform CPR on a pet
 1. The first step is to check for breathing. Only perform CPR on an animal that needs it. NEVER practice CPR on a healthy dog or cat.
2. If your pet is not breathing, check his airway for any blockages before doing anything further.
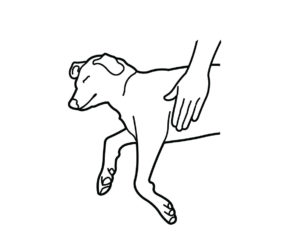
3. Next, check to see if your pet has a pulse. You can most easily check for a dog or cat’s pulse at the femoral artery. This is located on your animal’s inner thigh. Check for your pet’s pulse by pressing down gently with your fingers, not your thumb. If your pet does not have a pulse, this will indicate that he needs CPR.
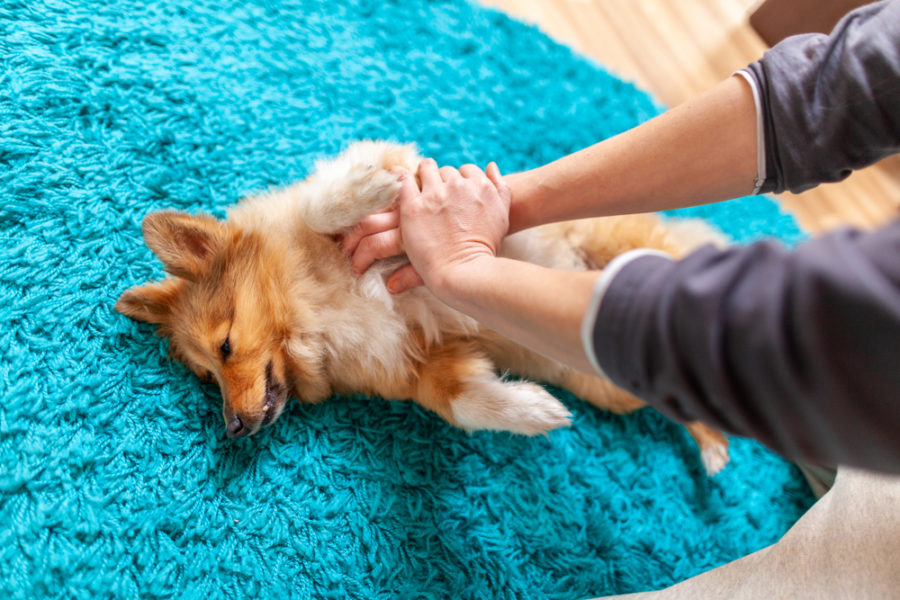
4. Before beginning CPR, lay your pet on a sturdy, flat surface on his right side. Make sure his head and neck are as straight as possible so air has clear passage.
5. Locate the heart, which will be on the left side of the animal’s chest where the elbow meets the torso.
6. Once you’ve located the heart, stack your hands (palms down) near the heart but not directly on top of it.
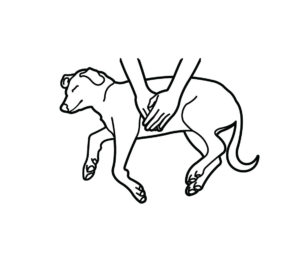 7. Keeping both elbows straight, compress the chest 1/4 to 1/3 of the chest width. Compressions should be at a quick rate — aim for 15 compression per 10 seconds.
8. Every 10–15 compressions, perform one rescue breath. Close the animal’s muzzle and breathe through his nose.
9. A step that many people skip is administering an abdominal squeeze. This is designed to help assist in the circulation of blood back to the heart, and is very important. Place your left hand under your pet’s abdomen, and your right hand on top. Push down to squeeze the animal’s belly.

10. Repeat steps 7–9 until the animal starts breathing, or until help arrives. It’s a good idea to switch out with someone, if possible, every couple of minutes. Performing compressions can be tiring and you don’t want to lose effectiveness.
Accidents happen. While most are minor and end happily, it’s good to be prepared with a basic knowledge of CPR. It might end up saving your pet’s life!
Pet First Aid classes are a good investment, but lessons are also available online, including this one from the ACE Academy for Canine Educators. To better understand how to perform CPR on your dog, check out this step by step video guide: https://www.youtube.com/watch?v=0AFrUiRIeVo
The information contained in this article is not intended nor implied to be a substitute for professional safety advice; it is provided for educational purposes only.