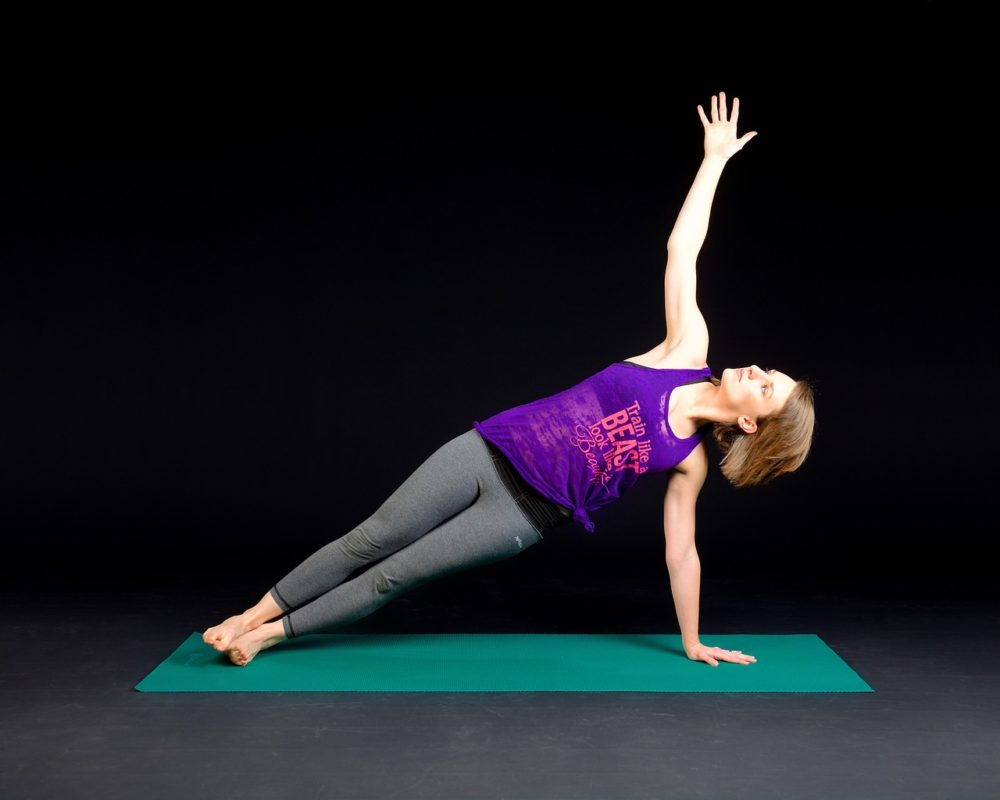
You carefully manage your horse’s fitness program – but does your own posture and fitness level match up with his?
You pay attention to your horse’s fitness program, but as a rider, it’s also important to understand how vital your own fitness is. It is your responsibility to ensure you have good body awareness and posture when you ride, so when you initiate even the subtlest movement in your position, you will know and expect your horse’s response. Horses can’t achieve good balance and self-carriage if their riders are unable to maintain their own self-carriage. Proper posture and understanding of the dynamics of the seat and back, and how they affect the horse, are essential.
Horses can’t achieve good balance and self-carriage if their riders are unable to maintain their own self-carriage.
The seat and the spine
In classical riding position, “the seat” is made up of the pelvis, which includes seat bones, the pubic bone, pelvic floor, abdominals, and the lumbar area (mid-low back), all of which make up the torso. Legs and arms play a role, but the seat is at least equal – and in most cases of greater importance – to leg and rein aids.
Back health issues, including in the lumbar area, affect up to 90% of society, and 66% of those affected are between 20 and 50 years of age. Muscles that are too loose and weak, or too tight, cause 90% of muscular and skeletal injuries. Therefore, it is best to ensure that your posture, core strength and back health are in good condition before you set foot in the stirrup. Most injuries are due to muscles that are too tight or inflexible, or that lack sufficient strength. Injuries can also be caused by a fixed or repetitive motion with inadequate rest, or muscles that have not been properly warmed up prior to a workout.
Most injuries are due to muscles that are too tight or inflexible, or lack sufficient strength.
Improper alignment of the spine can greatly compound the impact that riding will have on an already compromised back. Faulty alignment is often the result of one muscle group becoming dominant on one side of a bone, a group of related bones, or a joint, pulling the body off its center. All the muscles around the back move in opposition to their corresponding muscle groups on the opposite side of the limb or torso. In the case of the spine, the addition of increased pressure on the discs and corresponding ligaments, tendons and joints also contributes to poor alignment and postural issues.
Stretching for strength
First comes the stretch, then comes the strength. Muscles are technically stronger than bones and act as the body’s pulley system, maneuvering and affecting the bones. The muscles determine the shape the body will take, so if you slouch, your muscles will pull the bones into that position, eventually shortening the muscles creating the constant slouching position. Once we have adopted poor posture, any attempt to use the muscles correctly will likely feel wrong. It will take time to make shifts in the body’s patterning and muscle memory in order to change it back. It is by using this awareness and patience that we can restore muscle balance and reawaken our underused muscles, gradually coaxing them to work harder. The “too strong” and likely “too short” muscles need to stretch and relax a little so we can restore balance and maintain good posture. This will enable us to ride with balance, ease of movement and athletic grace. Try the following exercises to improve your posture and develop greater core/abdominal control.
1) Three point touch
Begin by lying with your back on the floor, knees bent, and feet about hip-width apart and flat on the floor. You are looking for three points of contact with the floor: the back of your head, your upper back between your shoulder blades, and your pelvis.
Position your pelvis so your tailbone is tucked under and points toward your feet. Contract the front of your pelvis, pulling your navel in toward your spine and contract the base of your pelvis as if trying to stop the flow of urine.
Broaden and lower your shoulders back and down your spine so that your shoulder blades are against the back of your ribcage, and your upper back lies flat against the floor. It is important to avoid scrunching up your shoulders.
With your arms straight at your sides and palms facing upward, lengthen through the back of your neck as if trying to draw your chin inward while keeping it parallel with the ground. This will also help you lengthen and stretch your torso.
Slide one hand between the small of your back and the floor. If the space is a greater than a hand’s width, you may need to contract your abdominals. If you carry an exaggerated curve in your lower back, you will need to stretch it out and then work on strengthening your lower abdominals.
2) Transverse abdominals
While still lying on the floor, take a deep breath, and as you exhale, contract your abdominals and bring your knees to 90°. Keeping your abdominals contracted, slowly lower one leg toward the floor and return to start position. Repeat with other leg. Be sure to maintain the three-point touch position throughout exercise. Perform two to ten reps.
3) Stair climber
Take a deep breath (again while lying on the floor), and as you exhale, contract your abdominals, press the small of your back into the floor (pelvic tilt), and lift your knees to 90°, flexing your feet toward your shins.
Keeping your left leg flexed, fully extend your right leg so it is straight and 1cm above the floor. Keep your pelvis and low back from rotating or lifting from the floor. People with sensitive backs can place their hands under their hips to stabilize the low back. Perform two to ten reps.
4) Bridge
Lie on your back with your shoulders open, hands facing down on the floor beside your hips, and knees bent over your ankles, with your feet flat on the floor. Inhale slowly and tuck your tailbone gently under so the small of your back flattens and engages your gluteal muscles.
Now slowly, vertebra by vertebra, lift your hips until you create a straight diagonal line from your knees down to your shoulders. Focus on your breathing so your abdominals expand and your hip flexors, which are often very tight in riders, have a chance to stretch and release.
Try to hold this position for about 30 to 60 seconds, then slowly return to the floor. Repeat two to ten times, building to the full 60-second hold. Avoid over-extending through your lower rib cage when you are in the bridge position.
5) Bird dog
Begin in tabletop position, kneeling on your hands and knees in three point touch posture. Engage your core. Extend your right arm and opposite left leg while keeping your core engaged and your hips level and square. Hold this position for up to ten seconds. (Add elbow to opposite knee). Repeat on the other side. Try two to ten reps on each side.
If you practice these exercises three or four times a week, you will improve your overall fitness, posture, position and communication with your horse. This will give you the ability to be the best rider you can be!
Common postural concerns
- The hunched or rounded upper back, known as “kyphosis”, is a common postural problem. It can inhibit breathing, interfere with digestion, and cause tremendous stress to the discs between the vertebral segments of the thoracic spine. All this offers little support to your equine partner and often results in pushing him onto the forehand. Stretching through the front (anterior) chest muscles and strengthening the mid-upper back muscles can help correct this problem as long as the kyphosis is not too advanced.
- Another common postural problem is a protruding belly, or “lordosis”. It may result from tight hip flexors and poor abdominal strength. Although the “potbelly” may not necessarily be caused by weak abdominal muscles, the forward tilt to your pelvis will likely block your horse through his back, disallowing the hind leg energy to travel through his body. To correct a tipping pelvis, imagine that your pelvis is a bowl full of water. Rotate it backward as if trying to prevent the water from splashing over the front edge.
If the seat bones remain connected to the saddle and your horse’s back at all times, and your feet rest properly on the stirrups, you’ll most likely feel a greater, more consistent connection to your horse throughout your ride. This will help keep your movements well-controlled and deliberate.
It is important to note that when the back muscles are tight, having very strong abdominals may not be enough to pull the pelvis back into alignment, or to vertical or neutral position.


